I'm beginning at A with Affection Collection and I've put a page of images in a black book and then on the opposite page I've taped a see through bag and placed two cards in it that I've used the stamps on and then made some more cards from the stamp. In fact, its quite addictive when you start!
Sunday, 24 August 2014
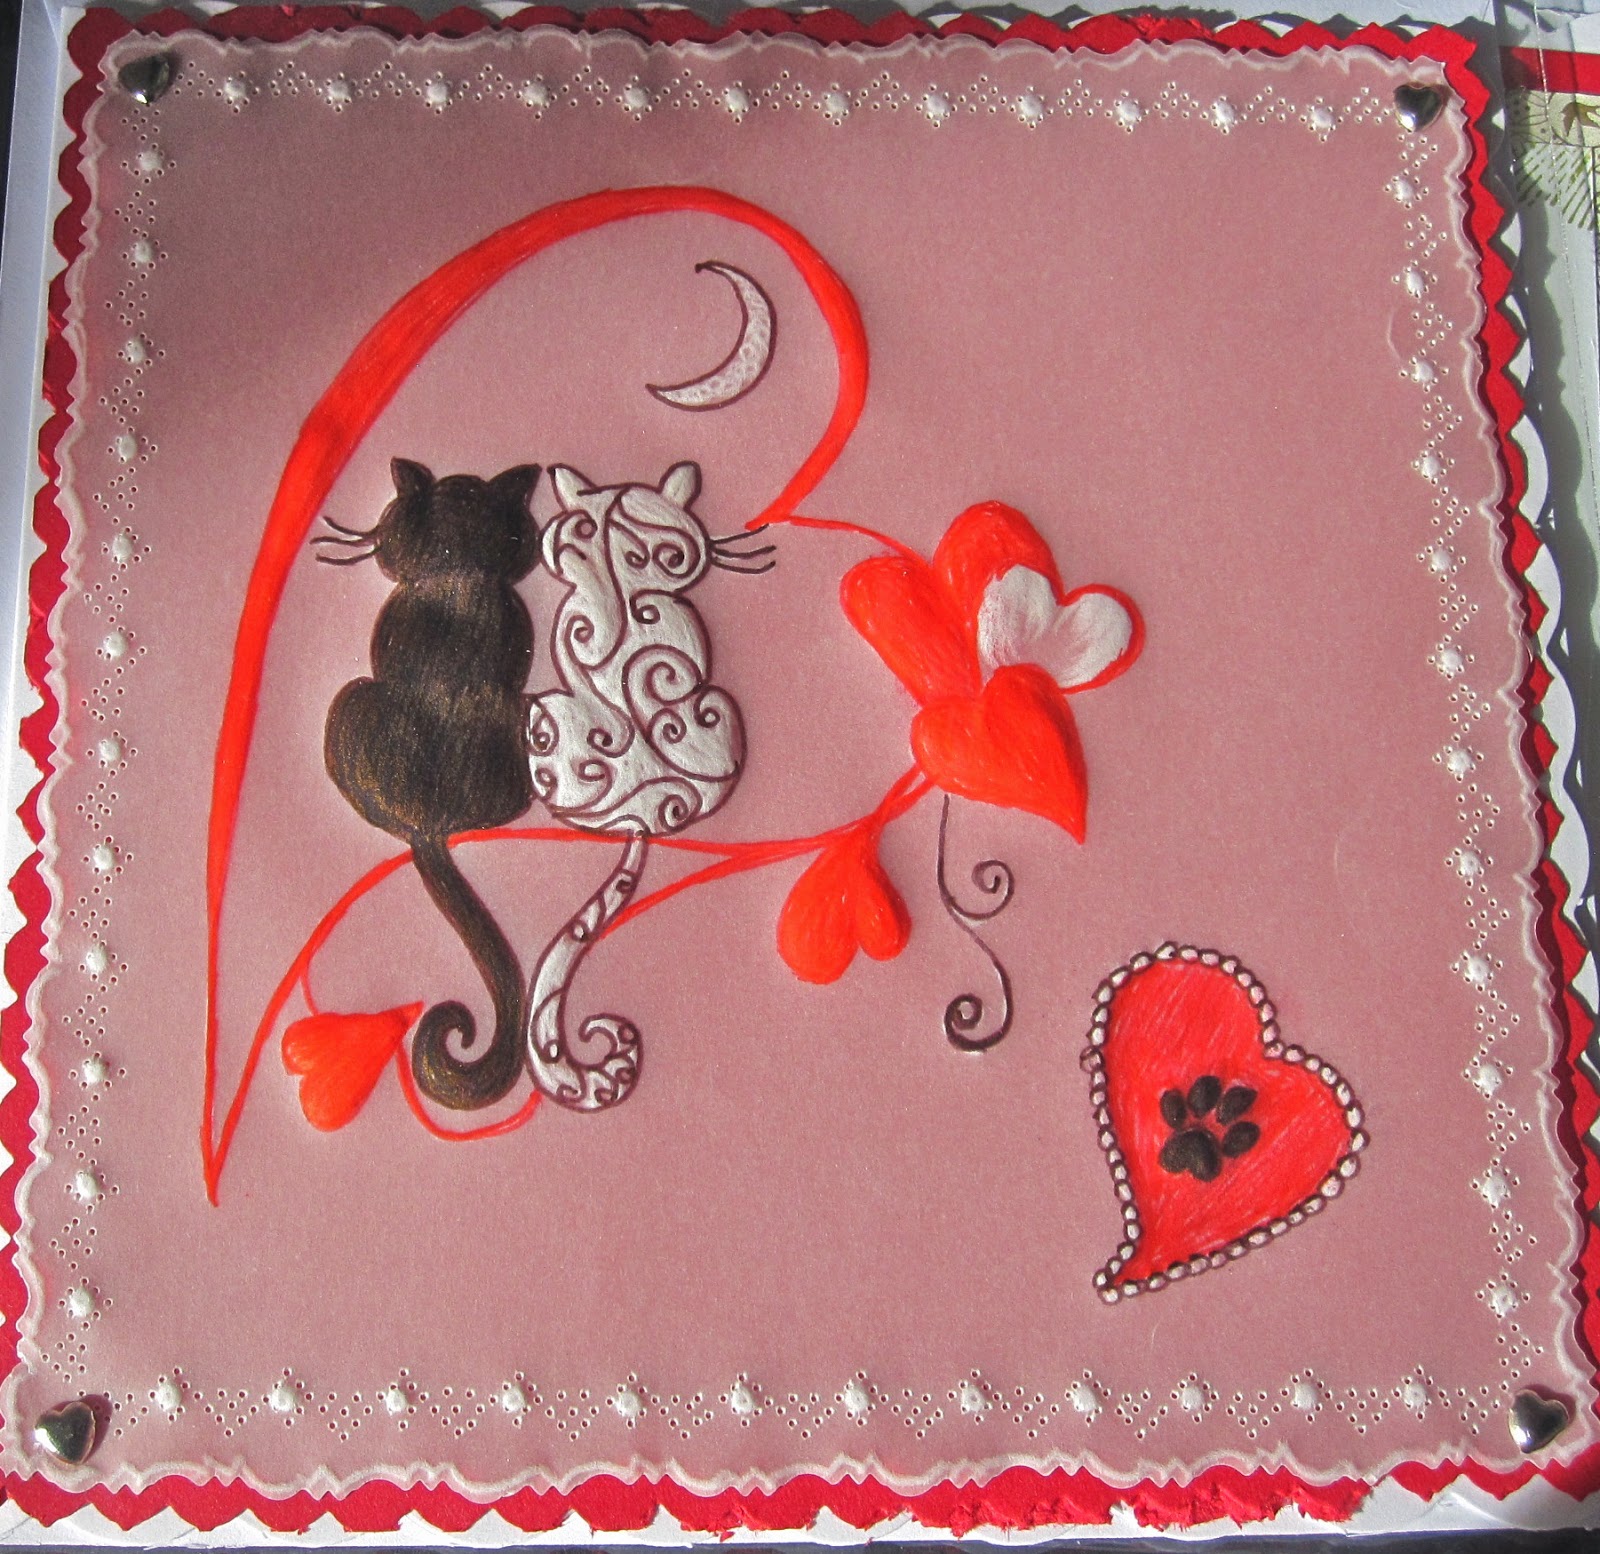
I'll be back soon with more. I'm starting to write a book too - always promised myself I would when I left work. My first one may be about the memories of friends in the WI and my second one about School of course! and my third one ………………. watch this space!! Here is one of my parchment ones to be going on with.
A few of my works of art!!
Well here is a painting I finished - its a real scene in Weymouth. These seagulls looked at the camera for me but I asked another one to pose for me and he turned his back so I didn't take him!! I think he was camera shy!
I'm just making a secret little gift for my friends in the WI so ssssh!! I'll show you what they look like. They are post it note holders.
I bought the post it notes which were 2" square and then asked Mal to help me make a pocket for them with the right measurements. He got technical on me at one point and wanted to put sides to them so they didn't fall out! I thought nobody would be able to get them out either! Well I knew the decorative tag topper took 2" card so we started off with that measurement but now we go metric with the other measurements.
The whole card measures 15cm across and 2" the other way! How's that for using both measures!
Then it is scored at - well this was awkward to do but I used the metric board on my scoring board and because the beginning of it is set out with lots of lines I placed my card long way on at the second half of the board which was at 15 and then scored my card at 19, 20, 25 and 26 cm and I placed the pegs in to help me as I had 48 to do.
So after all this cutting and scoring - oh I also had to use a file on each card because the ends were raggy - need a new cutting blade!, I punched the tag out and then I decided to make the gum ball green and the cherry cobbler card I'd used look more wintery by sponging whisper white down all the edges which I think looks better.
Then I glued the post it notes to the base of the card and folded it over so I could see where the brad had to go and I pierced a hole and placed the brad - some had a bit of adjusting so they were fitting and not opening up.
To finish off I punched a Christmas tree and a star with the small punches and using silver glitter card. I glued the star to the top left corner and placed a small bit of dimensional to the bottom right corner and placed the tree. I am pleased with the results and even more pleased now I have done all 48 of them!!
Subscribe to:
Comments (Atom)


